
If you’re not ready to purchase a TACTiLED planning set, I’m going to give you everything you. need to make your own!
While there are endless methods for creating a DIY magnetic board and physical day planner, I’m going to share the way I made my first board, before I upgraded to cut acrylic tiles.
Before we get started, it’s important to understand one of the core principles of this board – time blocks are to scale and the tiles come in 60 and 30 minutes. I found that 1-inch for an hour (and half inch for 30-minutes) was a good size. The tiles are large enough to write on, and small enough to keep the planning board a reasonable height.
Whatever size you decide to use for your time blocks, it will be important that you print the 15-minute increment time schedule to the same scale.
DIY Magnetic Board
- Two sheets of printable material (paper, sticker paper, transparency sheets) and the ability to print
- The Printable Schedule Template – download it for free just below this list
- Adhesive – spray, glue, tape (unless your print on adhesive paper)
- A magnetic board (I recommend 16 x 20 inches or larger. If you REALLY want to make a DIY magnetic board, you can use galvanized steel roof flashing cut to size and attached to a 16 x 20 poster frame.)
DIY Time & Task Tiles
- 4×6 in photo sleeves with the opening on the 4-inch ends (I used these)
- An assortment of colored papers (any paper will work, but when I got fancy and purchased some, I got these note cards)
- A paper cutter (Ideally with a half-inch and inch marker for exact cutting, otherwise you can do that with a ruler or by using the first tile you cut as a guide for the others).
Accessories
- A wet or dry erase marker
- A microfiber cloth
- A spray bottle of water (if using wet erase)
- A small magnetic dry erase board (for cleaning and preparing your tiles)
- A tray or some container to hold your tiles (ideally in a way that you can divide by color and size)
How to make your DIY Magnetic Board and Tiles:
- Print Schedule: Print Tactiled schedule sheets at 100% scale. Unless you have a role printer or get it printed professionally, you will need to print two 8.5 x 11 sheets of paper.
- Adhere to board: Cut the bottom edge of the first and top edge of the second page and carefully adhere them to your board
- Insert paper into photo sleeves: If you are using 4×6 notecards, there is no cutting required. If not, you will need to cut the paper down so it fits fairly snuggly in the sleeves (if the paper is too small it falls out more readily)
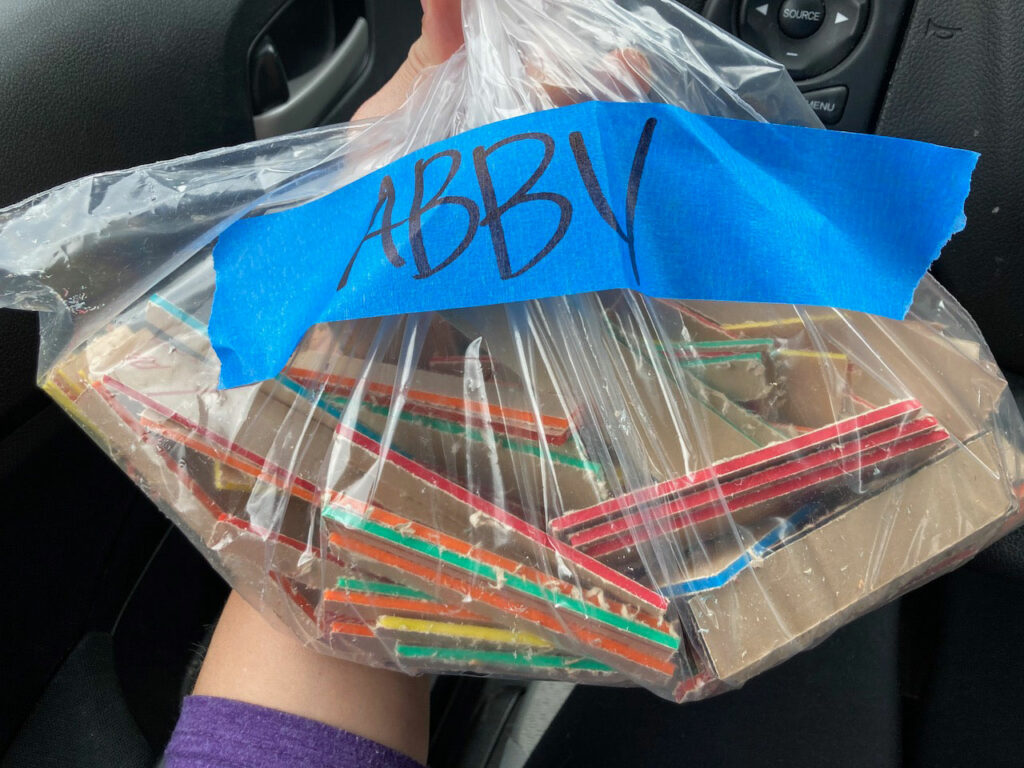
- Cut photo sleeves into tiles: If you cut a 4 x 6-inch sleeve, you should be able to make 6 one-inch tiles or 12 half-inch tiles. I was surprised how well the paper stayed in the sleeves after cutting, but it certainly wasn’t perfect. (Tip: make sure you cut the sleeves to match the hour and 30-minute time blocks on your schedule print-out. Different printers can scale things in different ways so if you print out is not exactly an inch per hour, the important part will be matching your magnets to whatever height your hour blocks is).
- Have Fun!

How to Use Your DIY magnetic board and Tiles
For me, most of the colors are life categories & meetings. But sometimes on the weekend, I mix that up. For other Tactiled users, the colors represent different clients they provide services to, or different projects they have at any given time. Some people want MORE colors and other people just want white tiles to plan their time with.
To be honest, I think that’s one of my favorite things about this system. If I get bored with a way of using it, I can switch it up. I can try one thing today and something totally different tomorrow.
I can (and do) double it up sometimes and I will put my time block in the primary column and my son’s zoom logins right next to mine. Or I will make a column for kid care and use color to identify who is in charge of the kids at any given time.
I think the real secret sauce here is not how I (or anyone else) uses this physical planning system, it’s how it works best for you.
Time Is The Only Constant
The one constant is time. We can’t change it. And I have spent my life saying “I’m still trying to figure out how to make more hours in the day.” And while it was kind of a joke, it kind of wasn’t.
Finally, I am working WITH time as my guide. If I let myself see the time, I am free to choose how I want to spend it. I’m okay with how much time there is in a day now. Yes, sometimes I wake up at 4am to try to get it all done or work late into the night – but when push comes to shove – time is one thing that passes at a constant rate no matter how I try to game it or what I choose to do with it.
Whether you choose to make your own board, order one from our online shop, or do something entirely different – I hope you feel reading this post was time well spent (because you ain’t getting it back ;-).

Love this idea. Do you have a magnetic board setup for a week at a time?
Hi Mary! Thank you for your comment. No weekly planner yet as my first goal was to be able to really focus and see my time. Because it’s a new product and the tiles are acrylic, the materials are not cheap and so a weekly planner would require a larger board and more tiles. My weekly schedule is always changing so I keep my google calendar current with meetings and events, then the night before or the morning of, I set up my board for the day. If/when the business grows, however, I have many ideas for additional products – weekly planners included. I will keep you posted, especially because you are my first official comment on the site (well, aside from my mom, sister and dad lol). Thank you!
I second the weekly planner. I actually came across your site when searching for a dry erase weekly planner. I do plan on ordering a daily one though, it is an amazing idea! I hope to see your business grow and new products come to fruition!
Dan, Thanks so much for your comment and support! I am beyond thrilled with the feedback I’ve received. We are expanding the products, and I have so many ideas for a weekly planner, so please stay tuned… Gosh… it would be fun to have a think tank about it 🤗😂😊 because do you want 4-inch tiles across a board – 28 inches? … Thanks again. – Abby